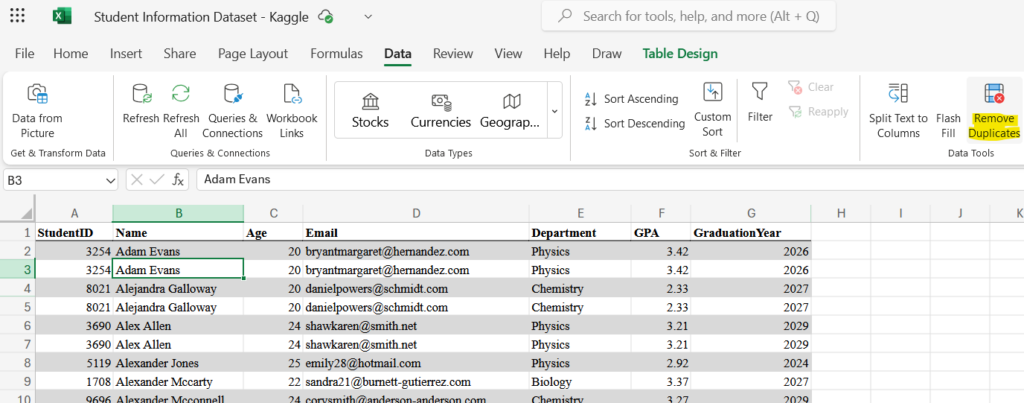
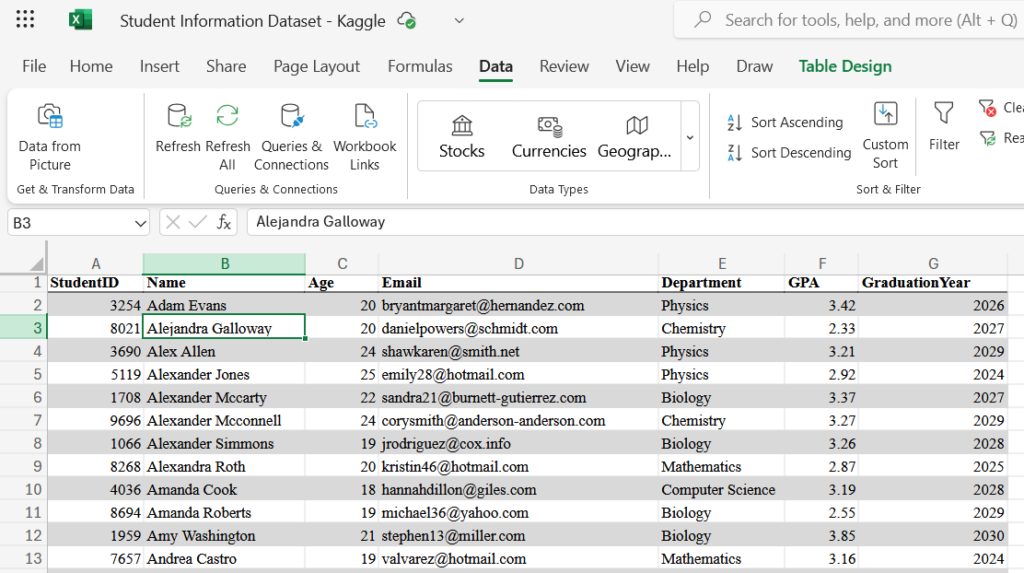
Excel allows you to remove duplicates from your data very easily. In this article, I will teach you how to do this. I am using the free version of Office 365 Excel for this example, but other versions will work just the same. I am also using the Student Information Dataset from Kaggle for this example and I have manually made duplicates of entire rows.
To remove duplicates in Excel, first select any cell in your table. Then, go to the “Data” tab on the ribbon and click on the “Remove Duplicates” button.

You will see a pop-up that allows to select the columns, based on which, duplicates are removed. For example, if you wanted to remove all rows that have duplicates, by just looking at the StudentID column, you could just select that column. In this example, I have made duplicates of entire rows so selecting all or any has the same effect.

Once you click “OK,” Excel will tell you how many duplicates were found and removed and how many unique values remain.

Click “OK” to go back to your updated table with the duplicates removed.


Leave a Reply