
Excel allows you to sort and filter columns of your data. In this article, I will teach you how to do both. I am using the free version of Office 365 Excel for this example, but other versions will work just the same. I am also using the Student Information Dataset from Kaggle for this example.
Sorting
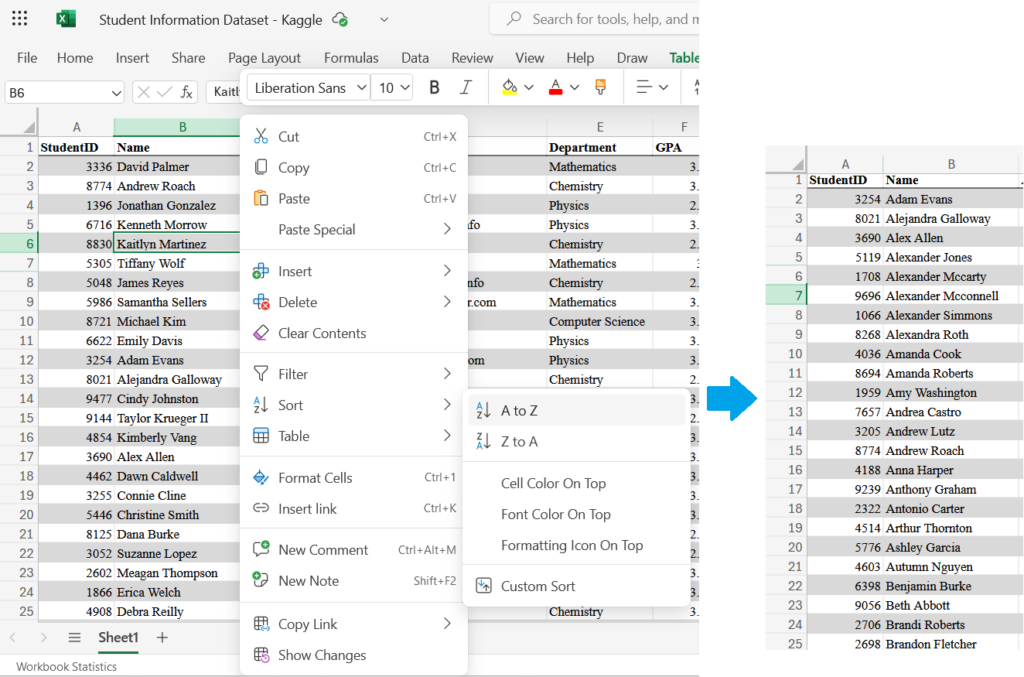
To sort a column in Excel, simply right click on any cell the column, select “Sort” and then select the type of sort (either ascending/descending alphabetically or even more customized sorting if needed).
Below we can see this operation applied to the Student Name column, making it alphabetically sorted:
Filtering
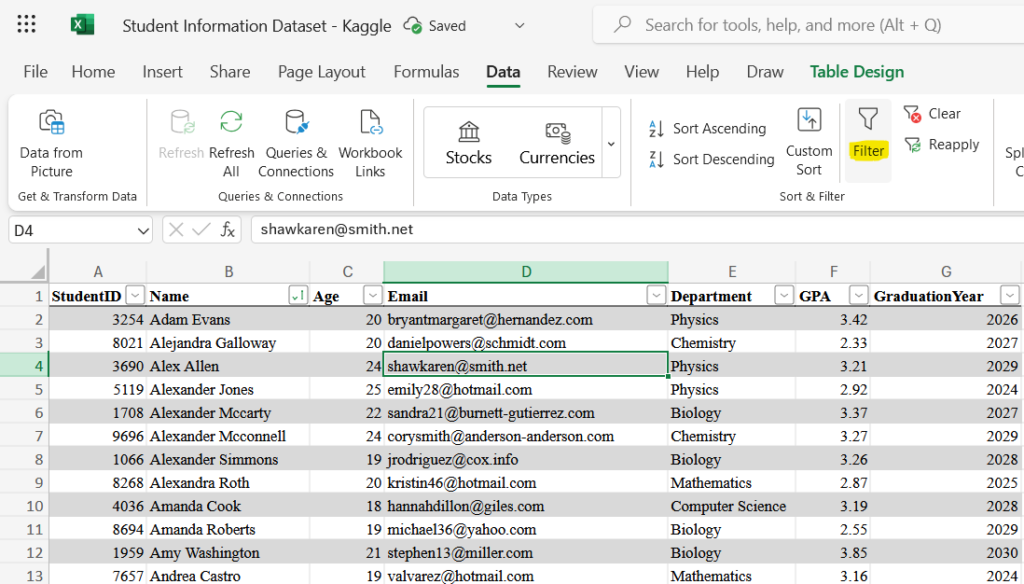
To filer your data, select any cell in the table. Then go to the ribbon and select the “Data” tab and click the “Filter” button. A small drop down arrow will appear on the top heading cell of all the columns.
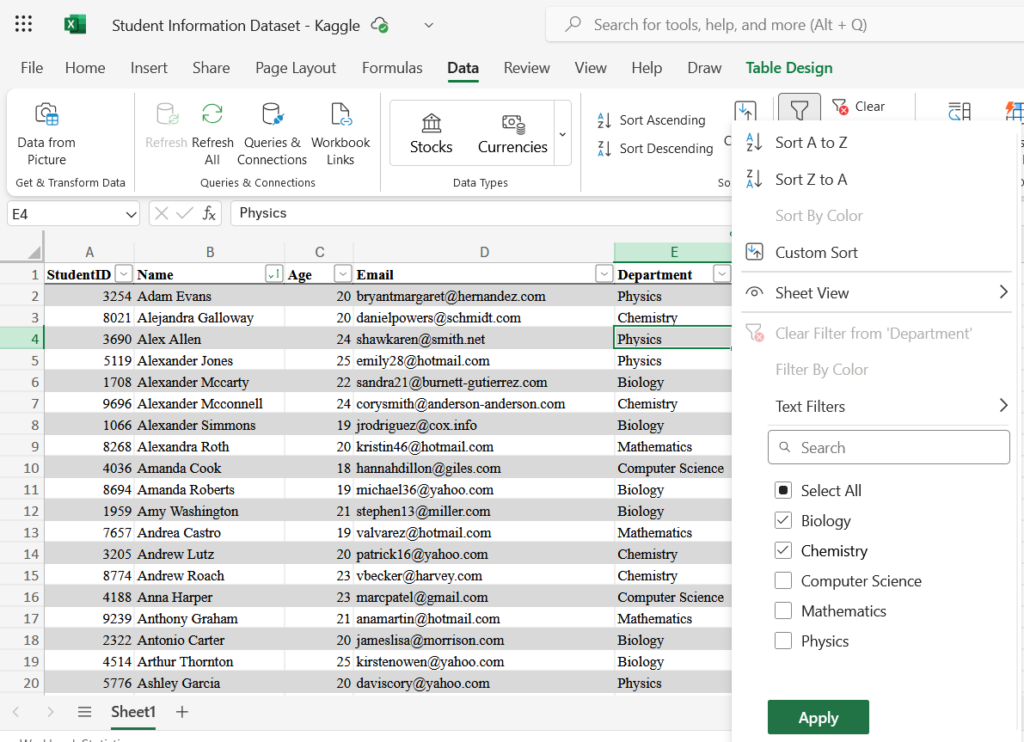
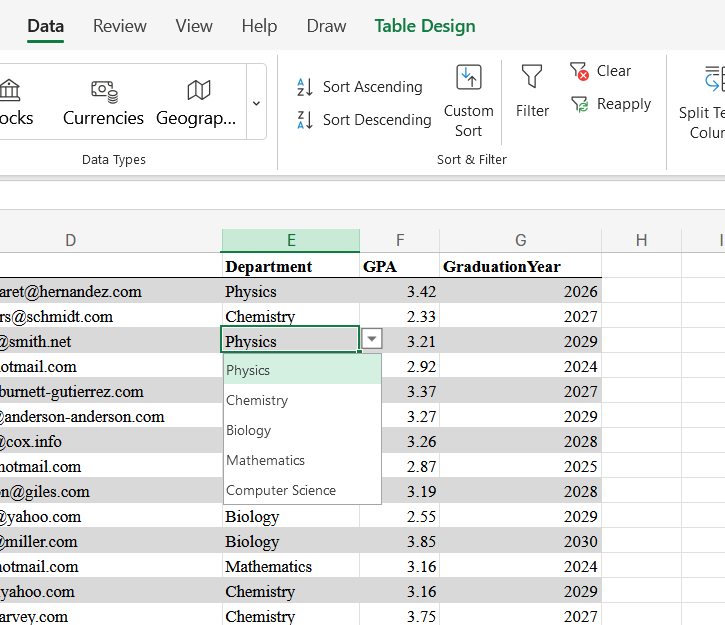
Click the small drop down arrow that just appeared on the header cells to filter out certain data or range of data. In this example, let us assume I only want to see students in the Biology and Chemistry Departments. Then, I can only select those and click “Apply.” This will filter out all the students in departments other than those two.


Leave a Reply